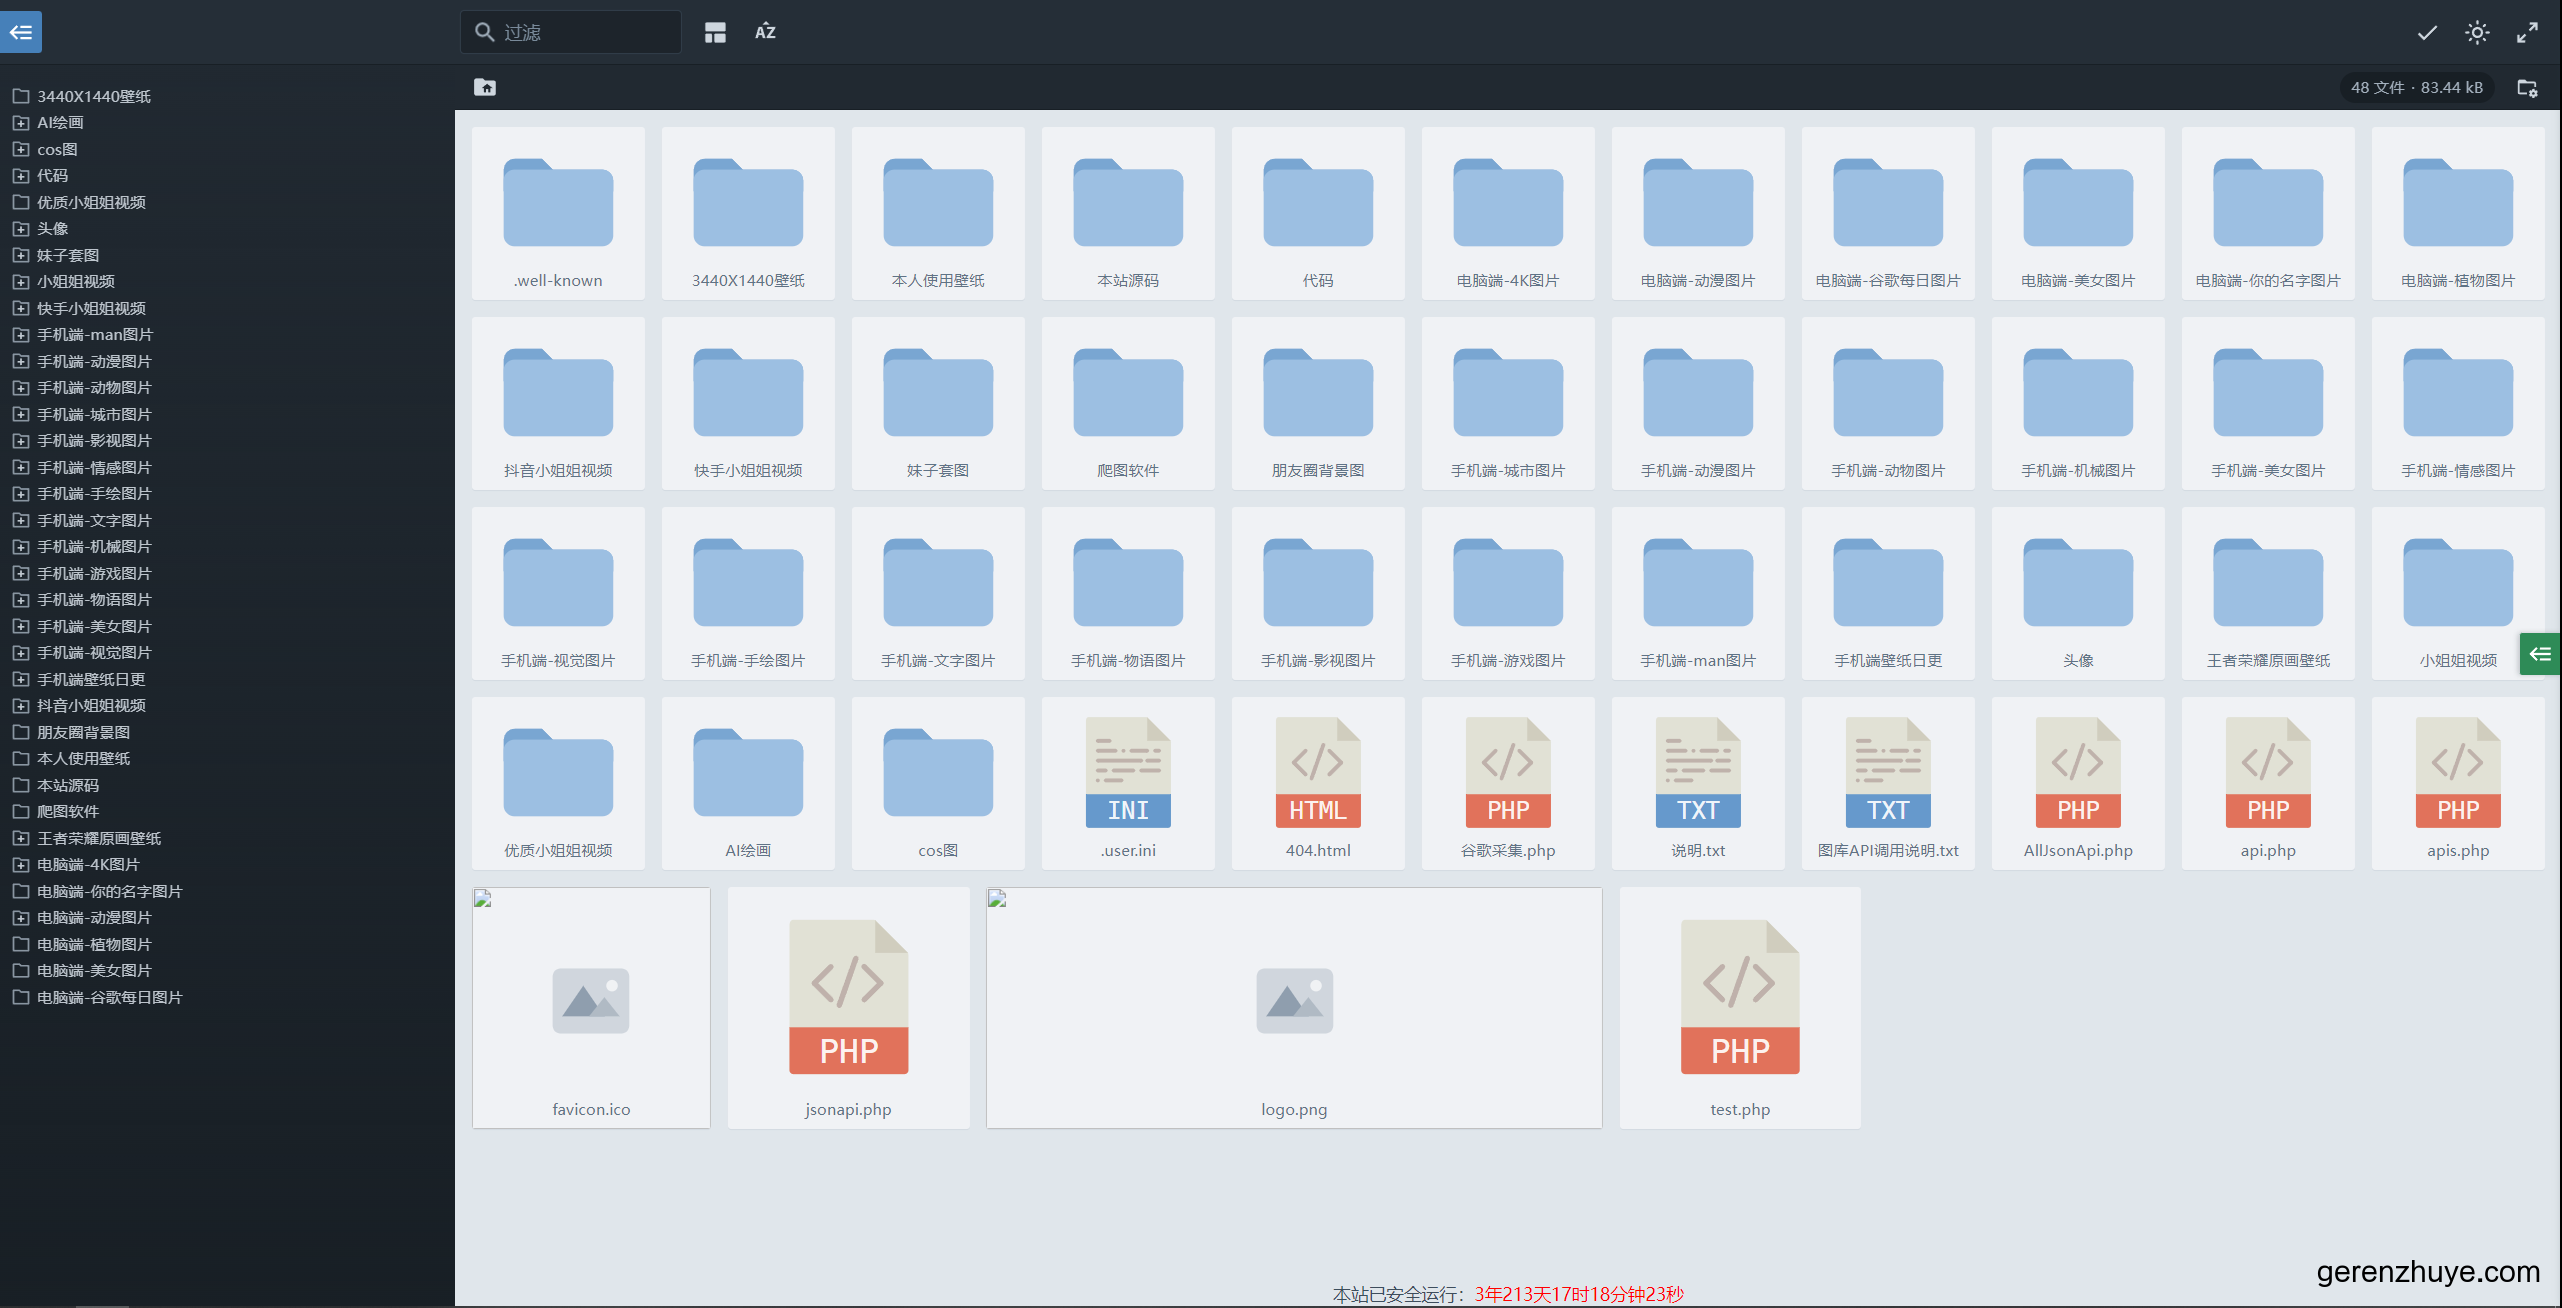
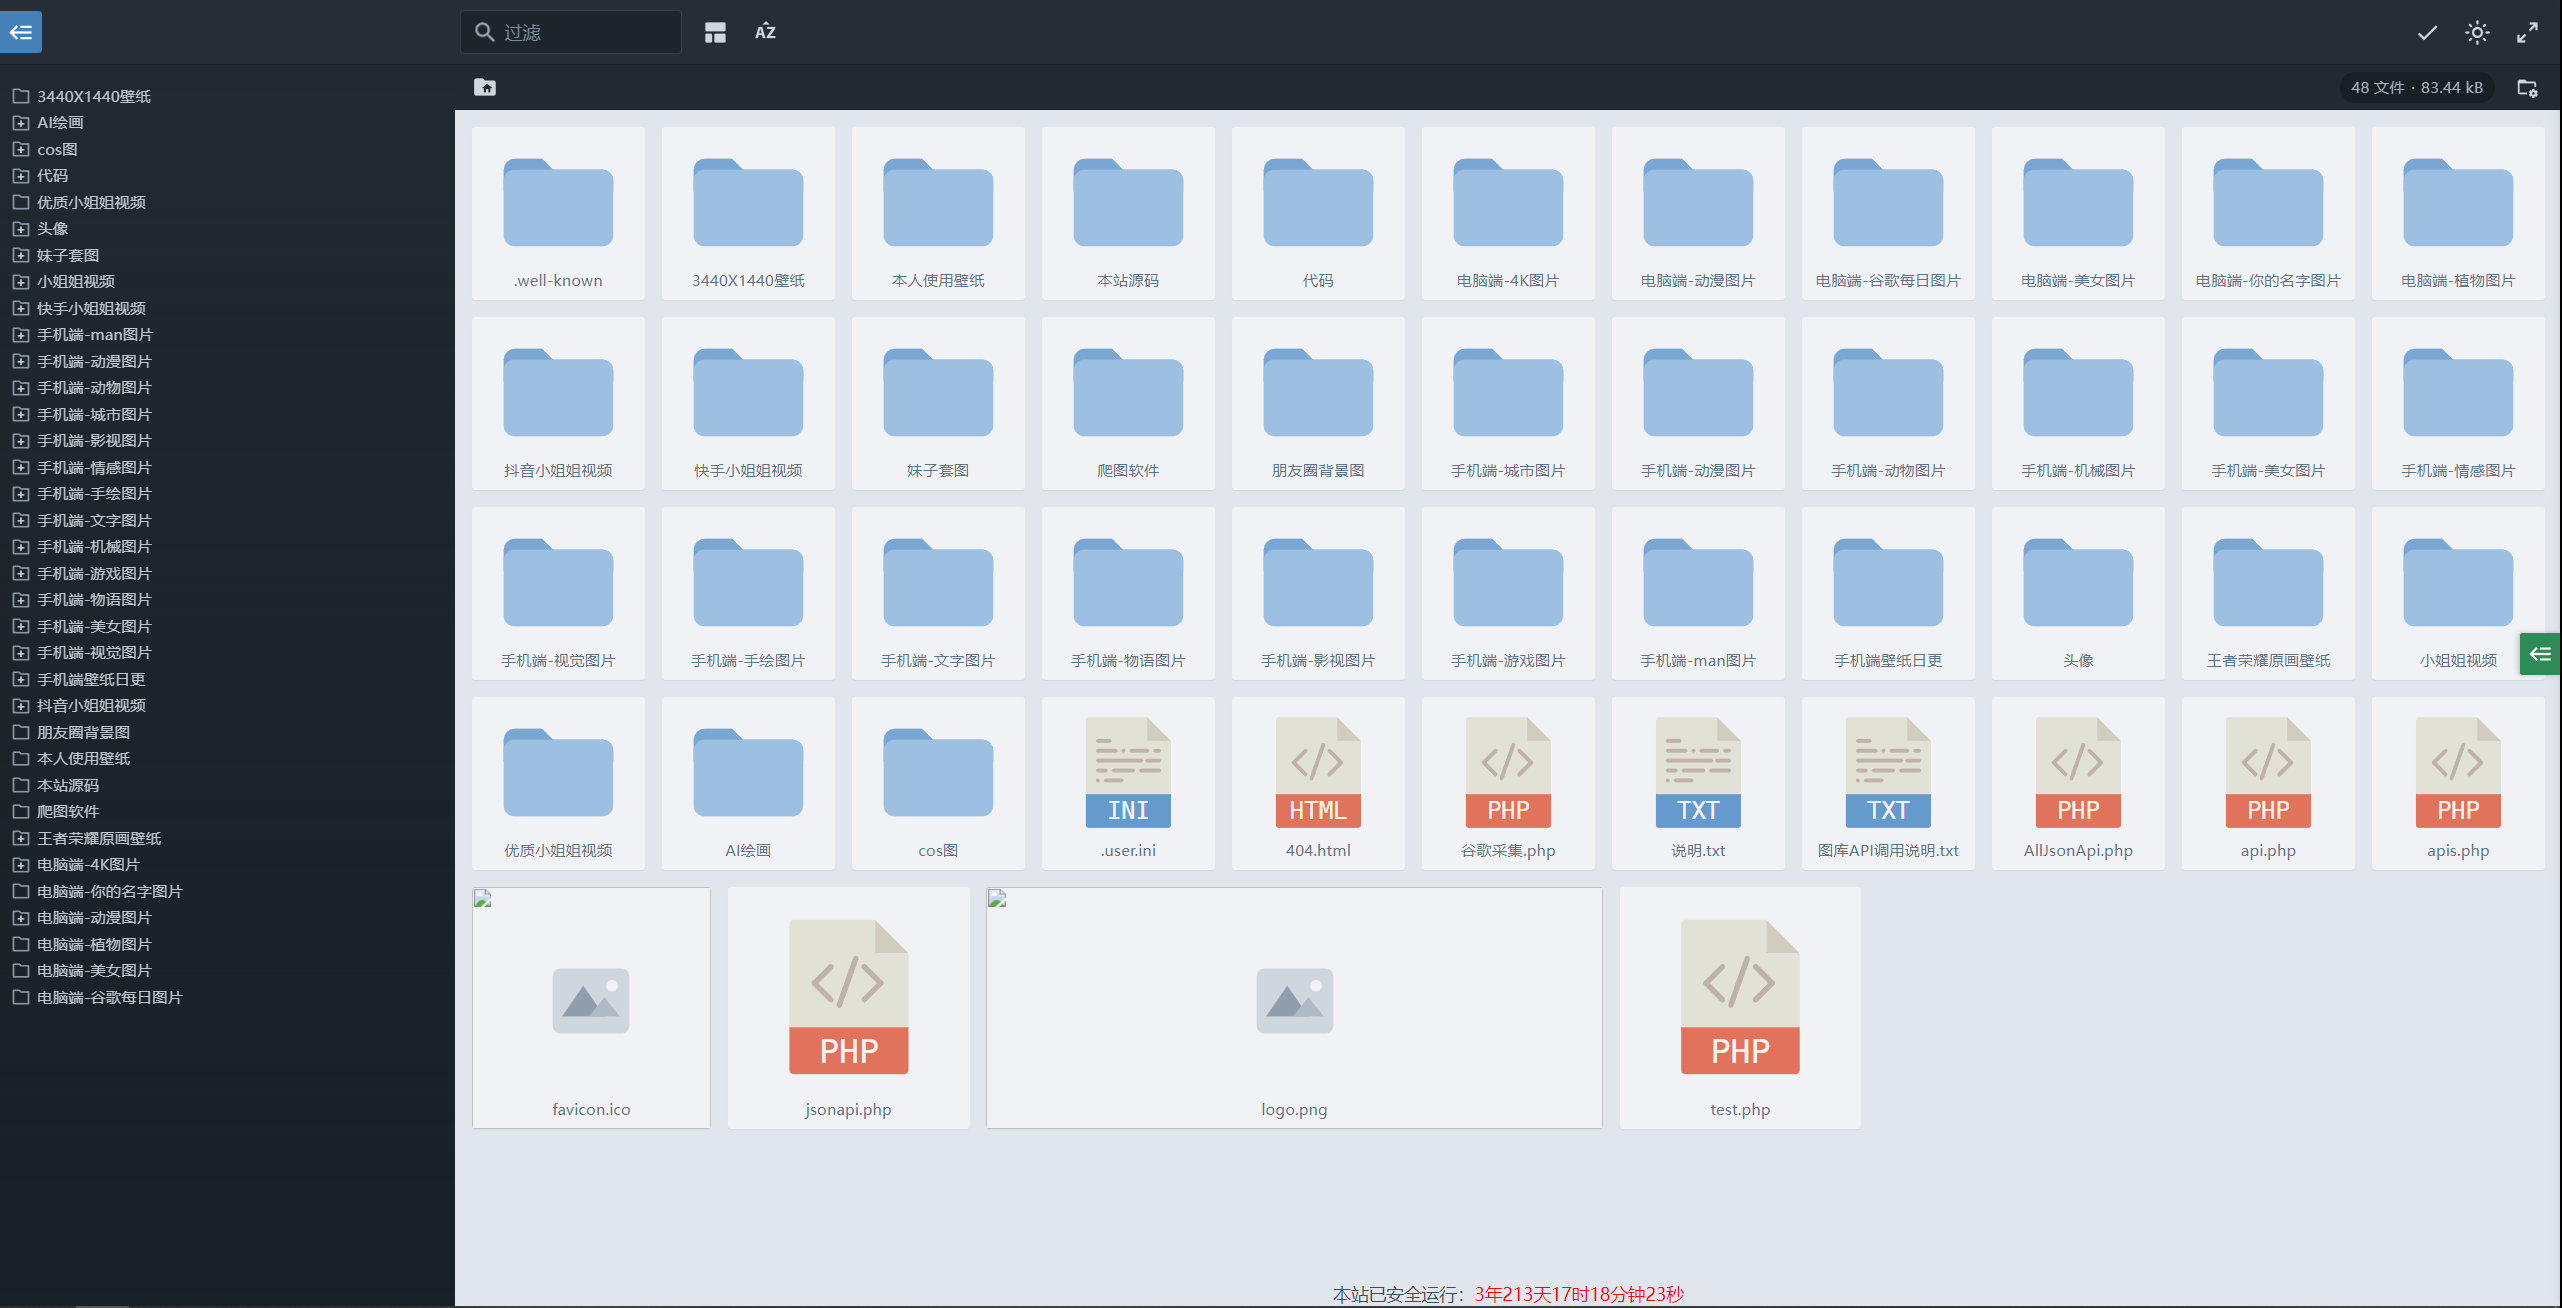
演示网站惜染图库

环境搭建与安装教程
环境安装
搭建PHP + Nginx服务
- 推荐使用PHP 7.4版本。
安装FFmpeg(可选)
- FFmpeg用于生成视频预览图。
- 安装FFmpeg可能会在首次运行时占用较高CPU资源。
CentOS环境下的FFmpeg安装教程
-
下载并解压FFmpeg工具包
wget http://www.ffmpeg.org/releases/ffmpeg-4.2.tar.gz tar -zxvf ffmpeg-4.2.tar.gz -
下载并安装yasm
wget http://www.tortall.net/projects/yasm/releases/yasm-1.3.0.tar.gz tar -zxvf yasm-1.3.0.tar.gz cd yasm-1.3.0 ./configure make && make install -
进入FFmpeg工具包文件夹并进行安装
cd ffmpeg-4.2 ./configure --prefix=/usr/local/ffmpeg ./configure --prefix=/usr/local/ffmpeg --enable-openssl --disable-x86asm make && make install -
配置环境变量
vi /etc/profile # 在最后位置处添加环境变量 export PATH=$PATH:/usr/local/ffmpeg/bin # 退出编辑模式后,:wq 保存退出 source /etc/profile -
验证FFmpeg安装
ffmpeg -version -
查看FFmpeg路径
type -P ffmpeg
宝塔面板PHP扩展安装
- 需要安装以下PHP扩展:fileinfo, opcache, memcache, redis, apcu, imagick, exif, sg11, igbinary。
- 安装完成后,访问
https://域名/index.php?check=1查看是否缺少环境配置。
程序破解方法
注意:此行为违反软件许可协议,不推荐使用。
打开 index.php 文件,找到 var CodeMirror = {};,在其后添加以下代码:
!function(){const t=window.XMLHttpRequest;window.XMLHttpRequest=function(){const e=new t;return e.open=function(n,o,s,p,l){"GET"===n&&o.startsWith("<?php echo config::$assets ?>files.photo.gallery@")&&o.endsWith("/lang/zh.json")&&(arguments[1]=arguments[1].replace(/@[0-9\.]+\/lang/,"@latest/lang")),"POST"===n&&o.includes("auth.photo.gallery")&&(e.send=function(e){t.prototype.send.apply(this,["app=2&host=demo.files.gallery"])}),t.prototype.open.apply(this,arguments)},e}}();
请遵守法律法规,合法使用软件。
请注意,破解软件是违法行为,上述破解方法仅供学习和研究目的,不鼓励在实际项目中使用。

